Training Your Horse For Vet Checks
Training Your Horse For Vet Checks
This article was written by Cyndi Rowat
I have copied it from the Spring 1999 issue of
Going the Distance, CaLDRA's newsletter.
They reprinted from Pacific/Prairie Horse
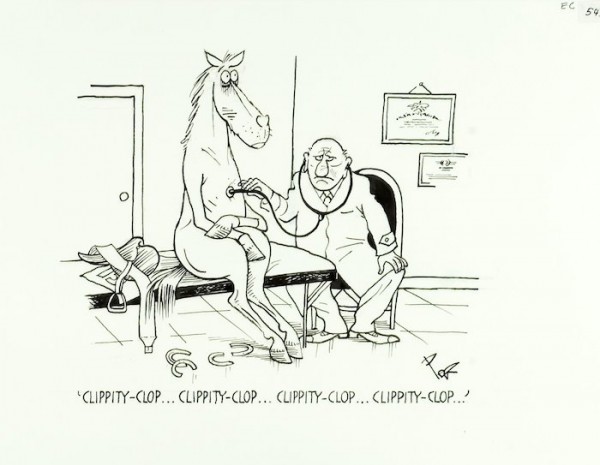
Nothing can spoil your opportunities for success in long distance riding like having a rotten brat who won't stand for examination or trot out for the veterinary judge. This is regarding the equine portion of the team - for those of you who need consultation regarding the human equation you might consider a crop or tranquilizers!!! In all seriousness, it is critical to remember that the whole reason the veterinarians are there in the first place is to ensure your horse's well being. Your horse should accept handling from every nook and cranny he's got, should allow a capillary refill test on the gum line and shoulder hydration pinches. He should allow palpation of his legs and inspection of his feet.
Your horse can be taught to be handled in all areas by systematically, calmly touching him everywhere as if he were to be examined by a vet. You can move on when the horse acknowledges your touch in a calm manner. A horse that is tense and holding his breath is not relaxed and is therefore not accepting of your touch - this area will need more work. Reward calmness by moving on. Light touch can tickle some sensitive horses - use enough pressure so as not to tickle. Be sensitive and don't rush - give it time if needed... daily if need be.
The trot-out is generally the same pattern at every ride; trot straight out and back and then trot in a large circle in each direction. Remember, the idea here is the vet wants to see if your horse is sound and able to start/continue the ride - not to see how great your legs look in the sun! Keep yourself out of the line of sight of the vet so he can see your horse moving in a flowing manner without stopping, side-passing and goofing off.
All training in halter begins at a walk. Once walking consistently in a straight line and leading in circles, begin to loosen the shank. Once acceptable response to your movements at the walk on a loose shank are achieved, move up to trot. Once trotting reliably, you should be able to let the shank out. (Note: If you horse tends to crowd you or step on you - verify that a tight shank isn't pulling him toward you.)
1. Teach your horse to trot in a straight line on the lead. Focus on an object or spot ahead and trot straight toward it. The vet should not have to travel to observe your horse's movement.
2.When trotting out - keep the shank loose. A loose shank is only attainable when your horse is confident in his job. Practice. A horse that constantly stops and needs to be chased forward needs more ground work.
3.Trotting a circle - again, the goal is to use a loose shank and train your horse from both left and right sides so you can be on either side.
Even a seasoned horse could use a brush-up prior to the start of the competitive season. Your vets will love you for it.

- Log in to post comments
